Aquarium layout: plan rocks, wood and plants before you build
Compare three aquarium layouts, plan planting space and check a real 3D example before buying materials or gluing hardscape.
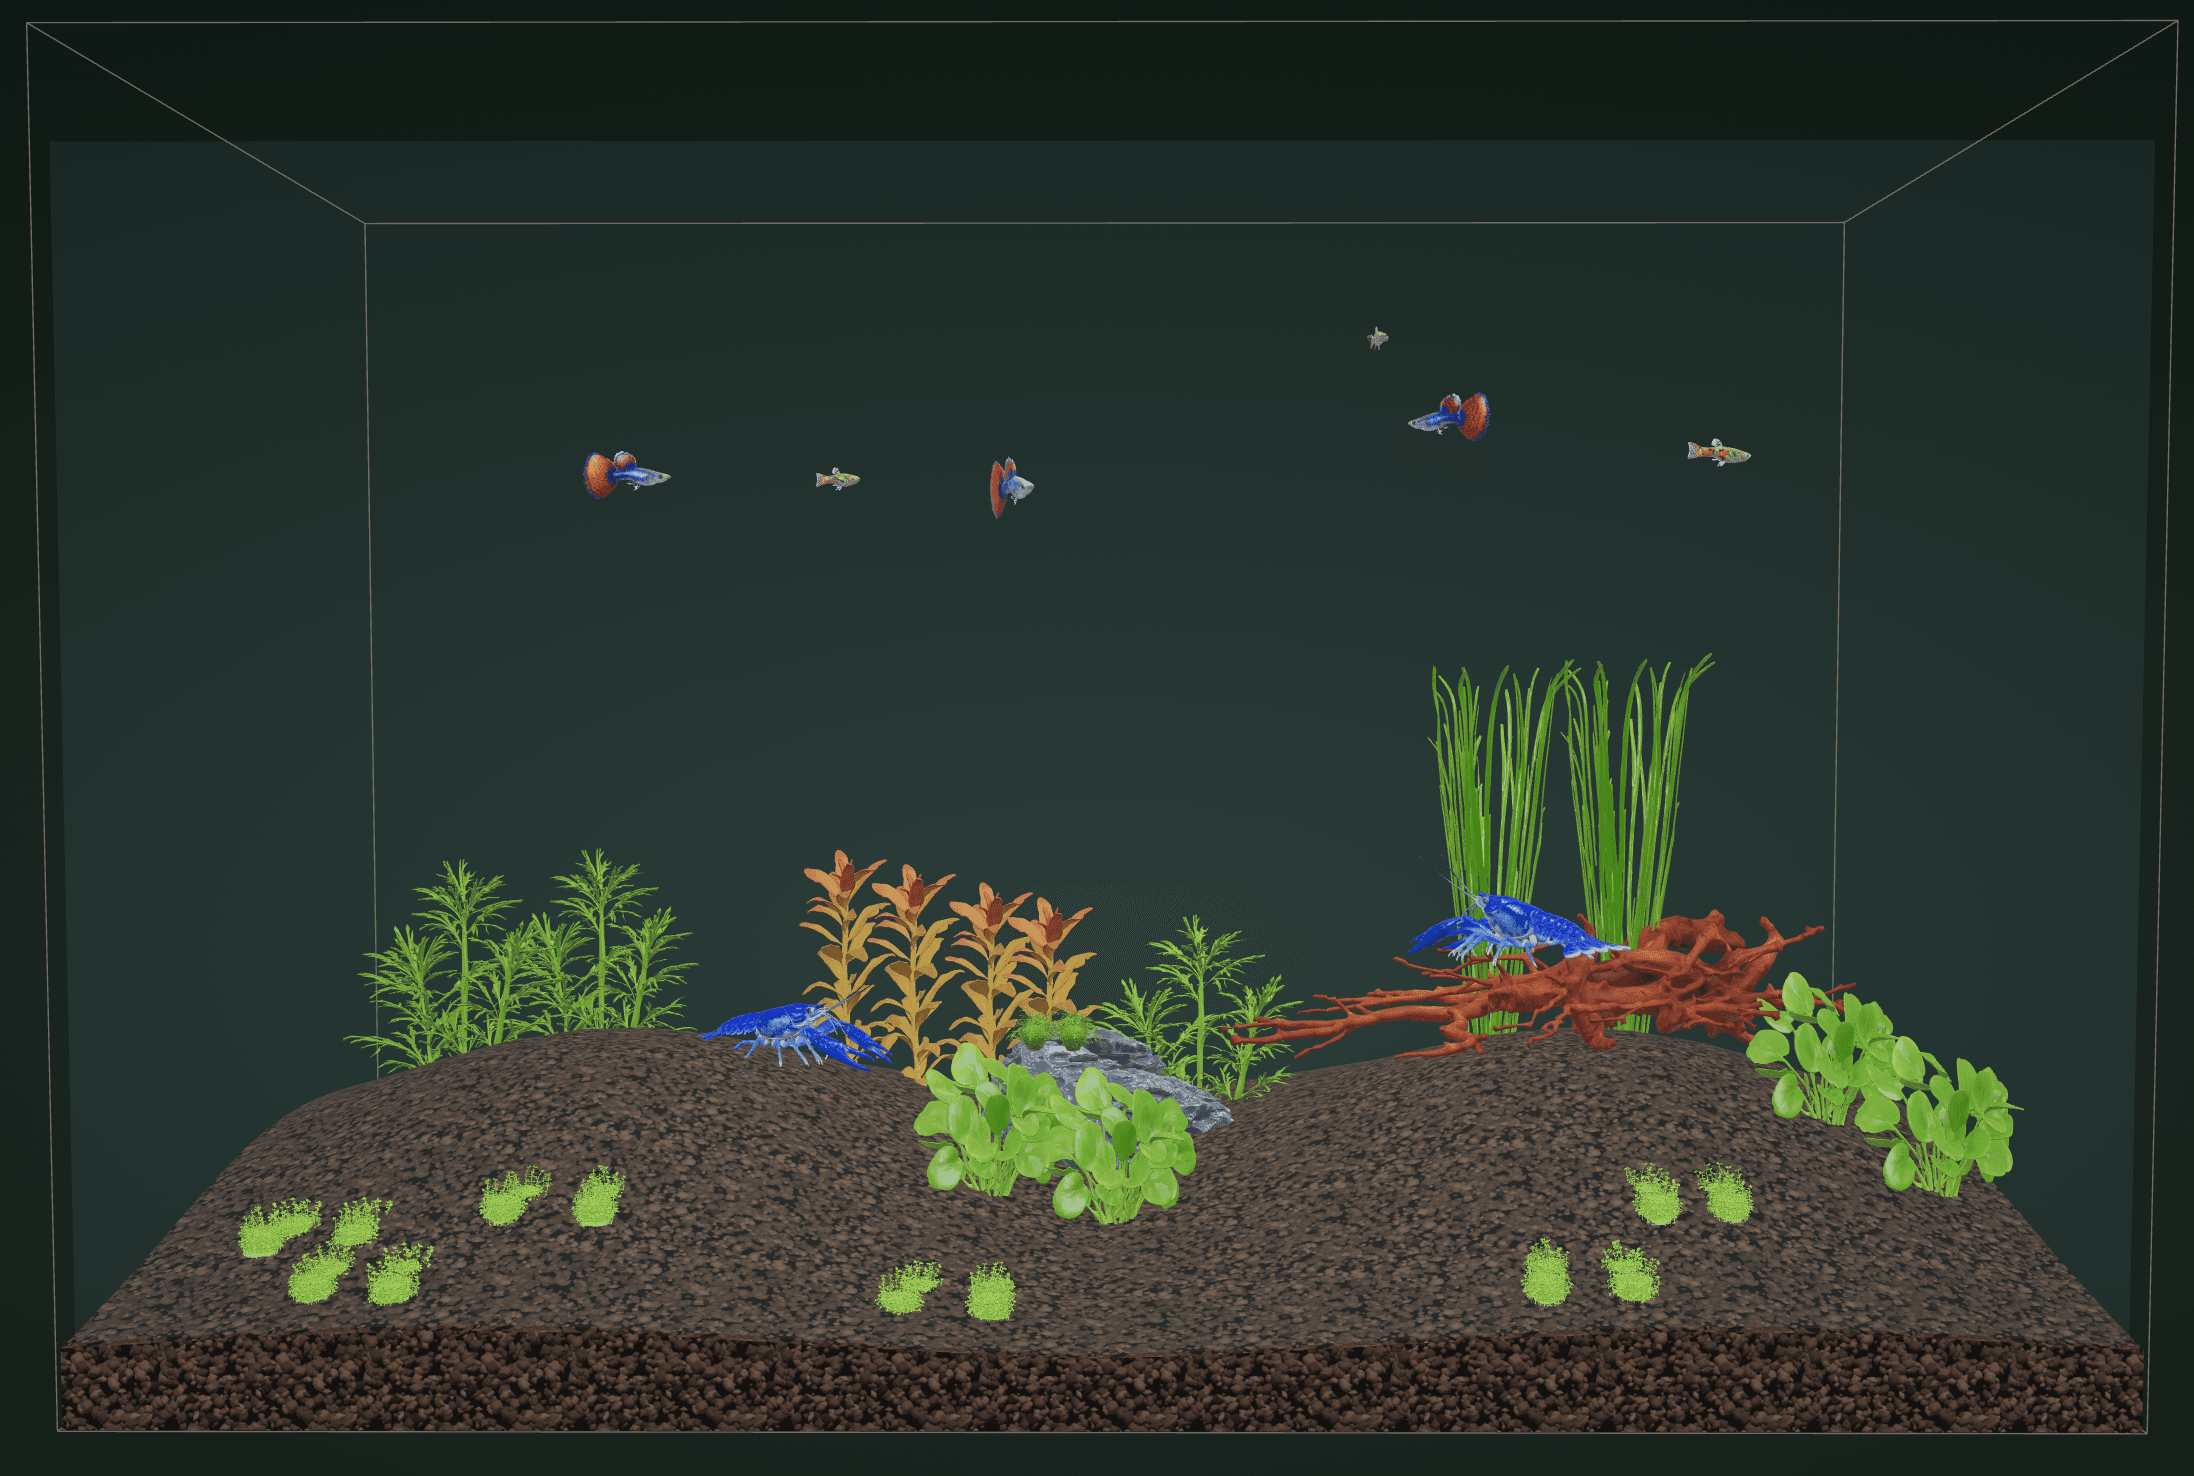
An aquarium layout is the arrangement of rocks, wood, plants and open space inside your tank. Planning those relationships before you buy materials or glue anything gives you room to try another option. Start with the dimensions and the way you will look at the tank, then choose a main shape.
Follow the current Scapesome Plan workspace: configure the Tank tab, add hardscape and plants from the left-hand Library, then inspect the aquarium layout in the central 3D view. The screenshots below show the actual Depth and See it real controls. The existing home-page example shows a hand-placed layout and its image preview.
Choose an aquarium layout for your tank size
Measure length, front-to-back depth and height before choosing large pieces. In Plan, open the Tank tab and click Size. Select a listed tank or enter Length, Depth (front to back) and Height under Custom size. You can also compare aquarium tank sizes before choosing. A broad stone or tall branch still needs room inside those dimensions.
Think about the main viewing position too. The central 3D canvas has Front, Angle and Top buttons at its upper right. Use Front to judge the main silhouette, Angle to inspect depth and Top to check the footprint of groups. Keep access for trimming, cleaning glass and reaching the substrate in mind while planning your aquarium layout.
Build an aquarium layout with the substrate controls
In Plan, open Tank, then Depth under Substrate. The menu offers Flat, Sloped back, High left, High right, Center mound and Valley. Choosing a shape changes the substrate profile; you build the aquarium layout by adding and moving real catalog objects. The three approaches below show how the available profiles can support your composition.
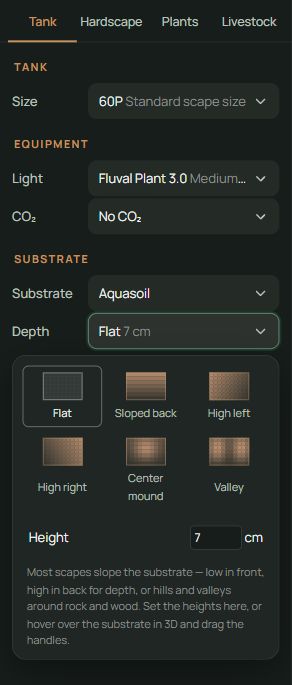
Triangular: start with High left or High right
A triangular aquarium layout places the tallest or heaviest group toward one side and tapers toward the other. In Tank > Depth, High left or High right can support that direction. Set the Low point and High point heights, then use Hardscape and Plants to build the main group on the raised side. The overall composition comes from the objects you place as well as the substrate.
Look at the overall outline before adding detail. If every small rock is equally prominent, the direction becomes harder to read. Try removing a supporting piece or lowering a plant group rather than immediately buying more material.
Concave: start with Valley
A concave aquarium layout uses two side groups with a lower, open area between them. Valley in Tank > Depth provides a substrate profile for that approach. Set its Low point and High point, then place rocks, wood and plant groups on either side. Keep the opening readable when viewed from Front; the two groups can have different heights and sizes.
Use Top to inspect the gap between the groups, and Angle to see what occupies the back of it. A tall plant group directly behind the opening can close the view as it fills in. Leave usable foreground space and check the placement of individual objects rather than relying on the substrate shape to complete the aquarium layout.
Convex: start with Center mound
A convex aquarium layout concentrates the main mass into one mound or island, with lower, open areas around it. Center mound in Tank > Depth can support this composition. Set the Low point and High point, then group your hardscape and plants into one main arrangement. Adjust the objects by hand and inspect their balance from Front and Angle.
Leave enough space to read the group as a shape. Filling every surrounding gap with another prominent stone may create several competing groups. Look at the arrangement from a little farther away: the outline should still be understandable without relying on small details.
Place the main rock or driftwood
Open the Hardscape tab in the left-hand Library. Click a rock or wood entry to open its card, choose a shape when several are available, set the number of pieces and click Add. Click an object in the 3D tank to select it, drag it to move it and use R to rotate it. Compare aquarium hardscape by shape and material before deciding which piece to build around.
Change one important thing at a time: position, angle or size. That makes it easier to see why an aquarium layout feels different. A piece can look excellent by itself yet interrupt the space you wanted between two planting groups. Leave the smaller accents until the main relationship feels settled.
Use the rule of thirds as a starting point
For the rule of thirds aquascape approach, use Front and imagine the tank divided into thirds. Try placing the main object near one of those divisions, then move it a little and compare the balance by eye. Use the actual Front, Angle and Top controls to inspect the result as you adjust the aquarium layout.
A focal point is also affected by height, colour and the open space around it. A bright plant or a pale sand area may draw attention even when it is not the largest object. Judge the whole aquarium layout from your viewing position rather than adjusting every piece to an exact fraction.
Plan planting groups and open space
Open Plants in the left-hand Library. Click an entry to inspect its card, choose the quantity and click Add, then move the plant group in the 3D tank. Compare aquarium plants by growth form, placement and requirements. Keep low plants and open areas where you want the hardscape to remain visible; check taller groups from Front and Top.
Repeat a few compatible groups where that helps the composition read clearly. Keep taller growth from closing a valley or hiding the focal piece you planned. Leave room to trim around wood and stones. Your aquarium layout can have dense planting and useful open space at the same time.
Choose plants for the conditions you intend to provide. Check light and CO2 needs on each entry, and compare aquarium substrates for the planting method. An attractive combination still needs a setup that supports the species you chose.
Preview the aquarium layout with See it real
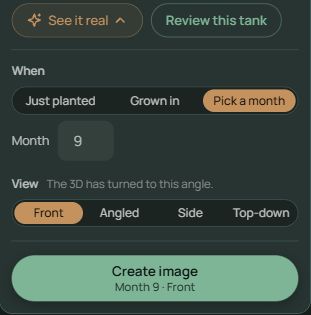
Once your tank contains plants or hardscape, click See it real in Your setup on the right. Under When, choose Just planted, Grown in or Pick a month; the custom Month field accepts 1–12. Under View, choose Front, Angled, Side or Top-down. The 3D camera turns to the selected angle. Click Create image when the choices are ready. Creating an image requires sign-in and uses credits.
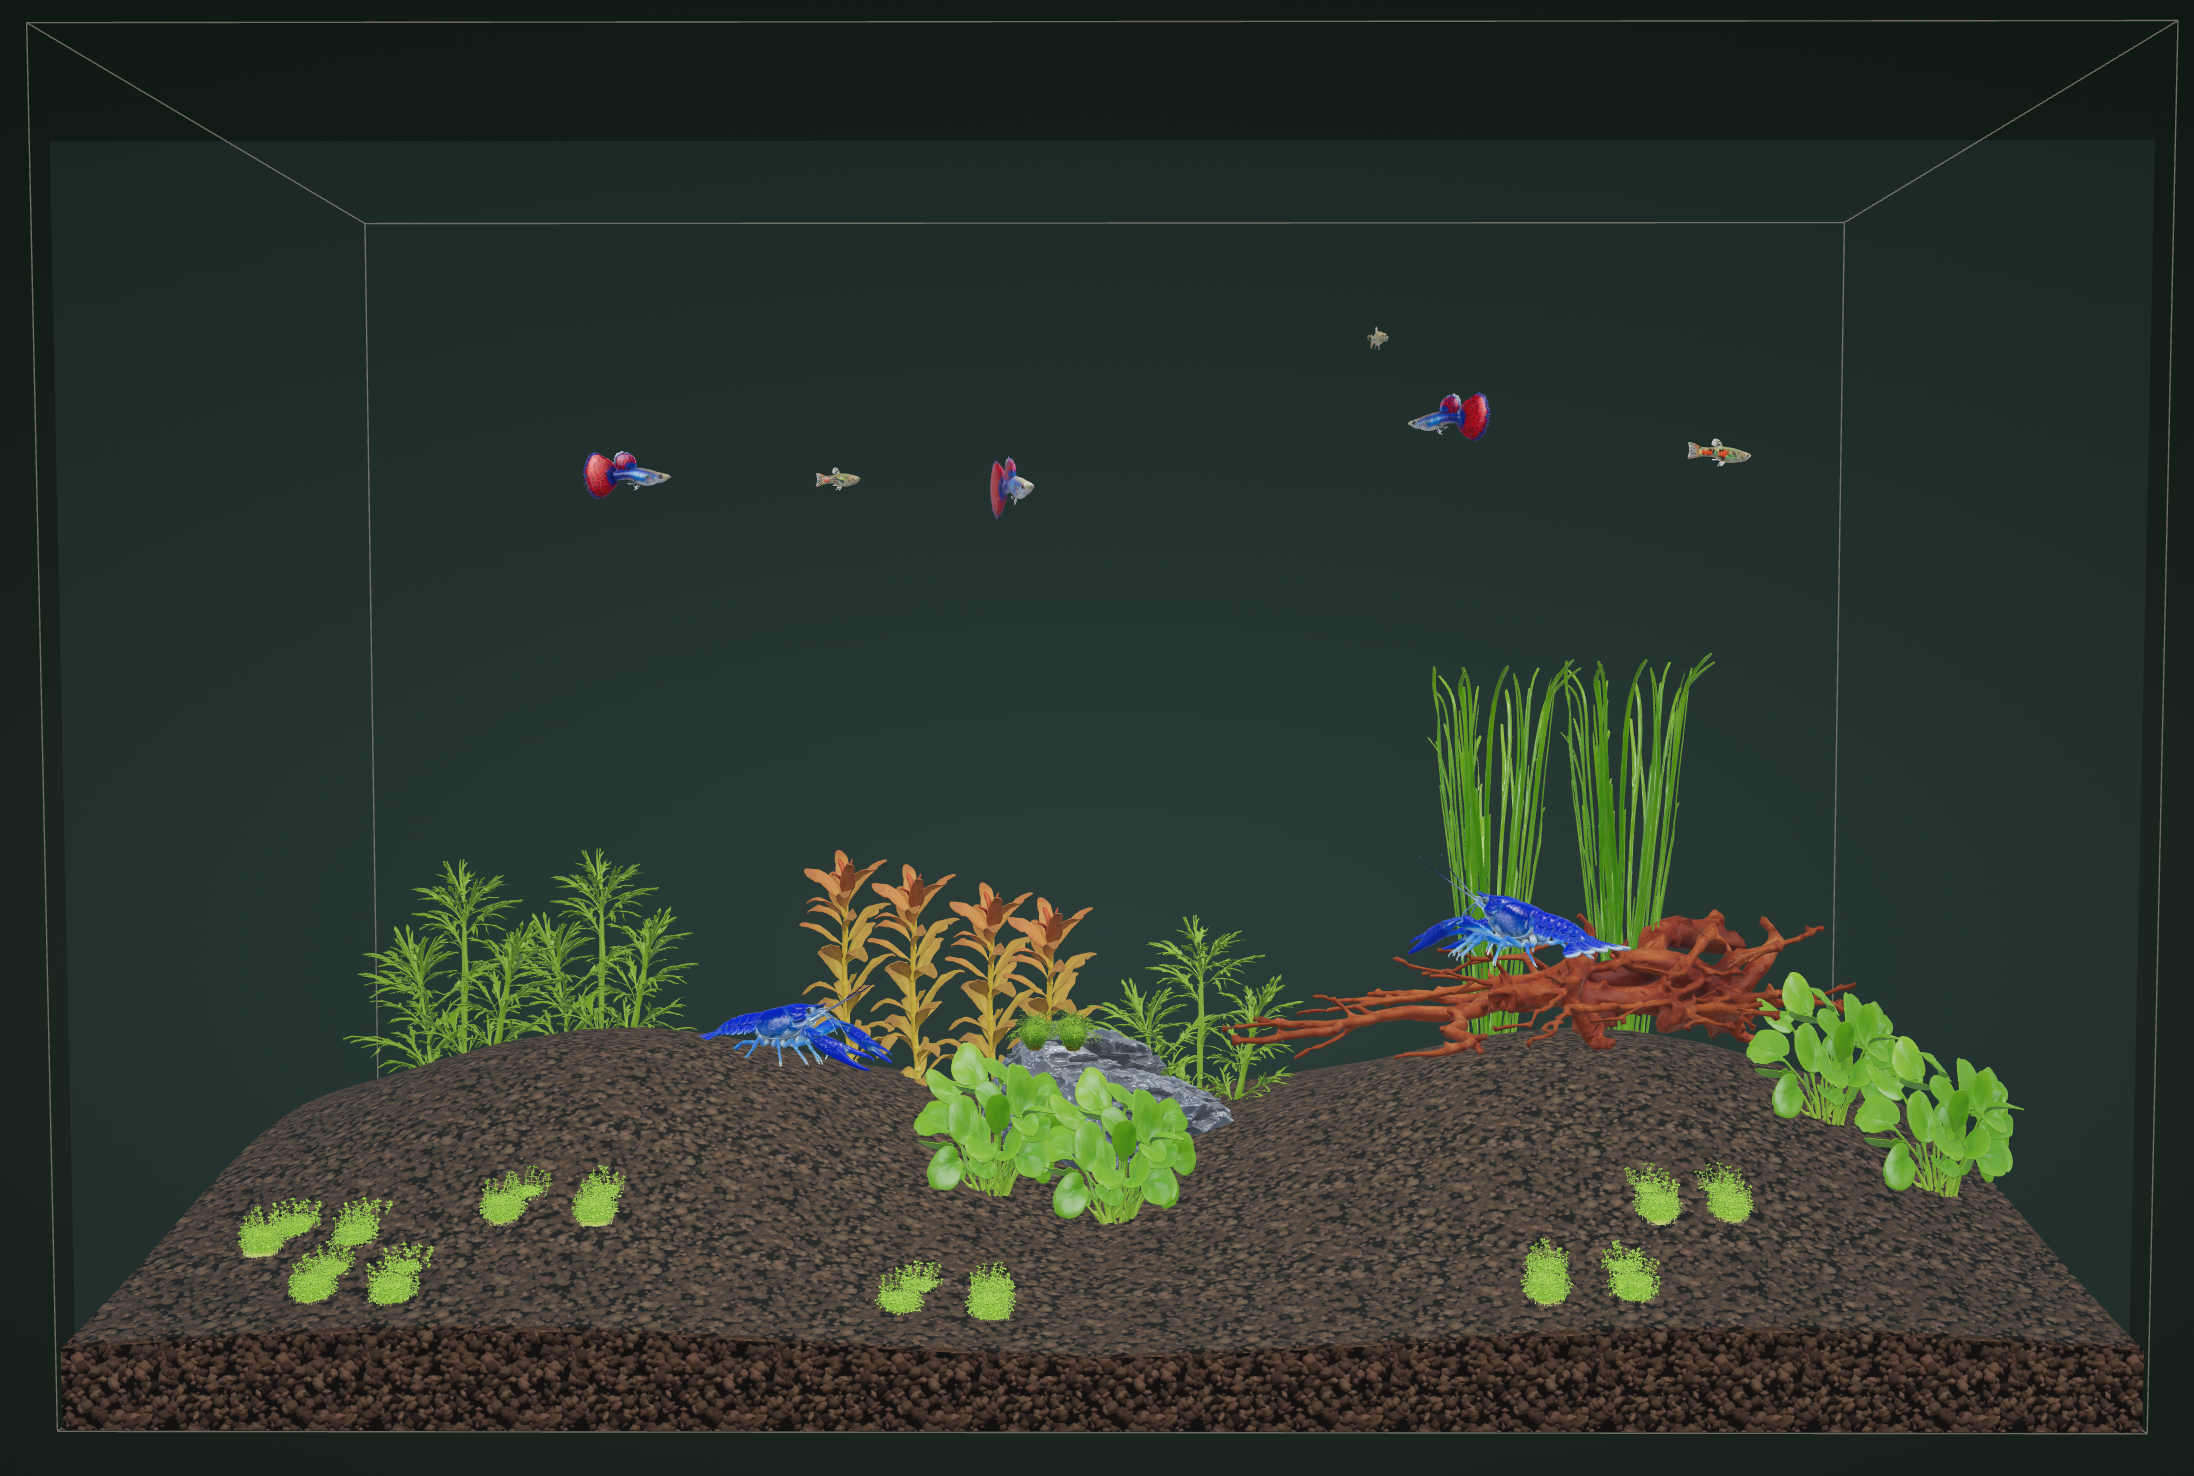
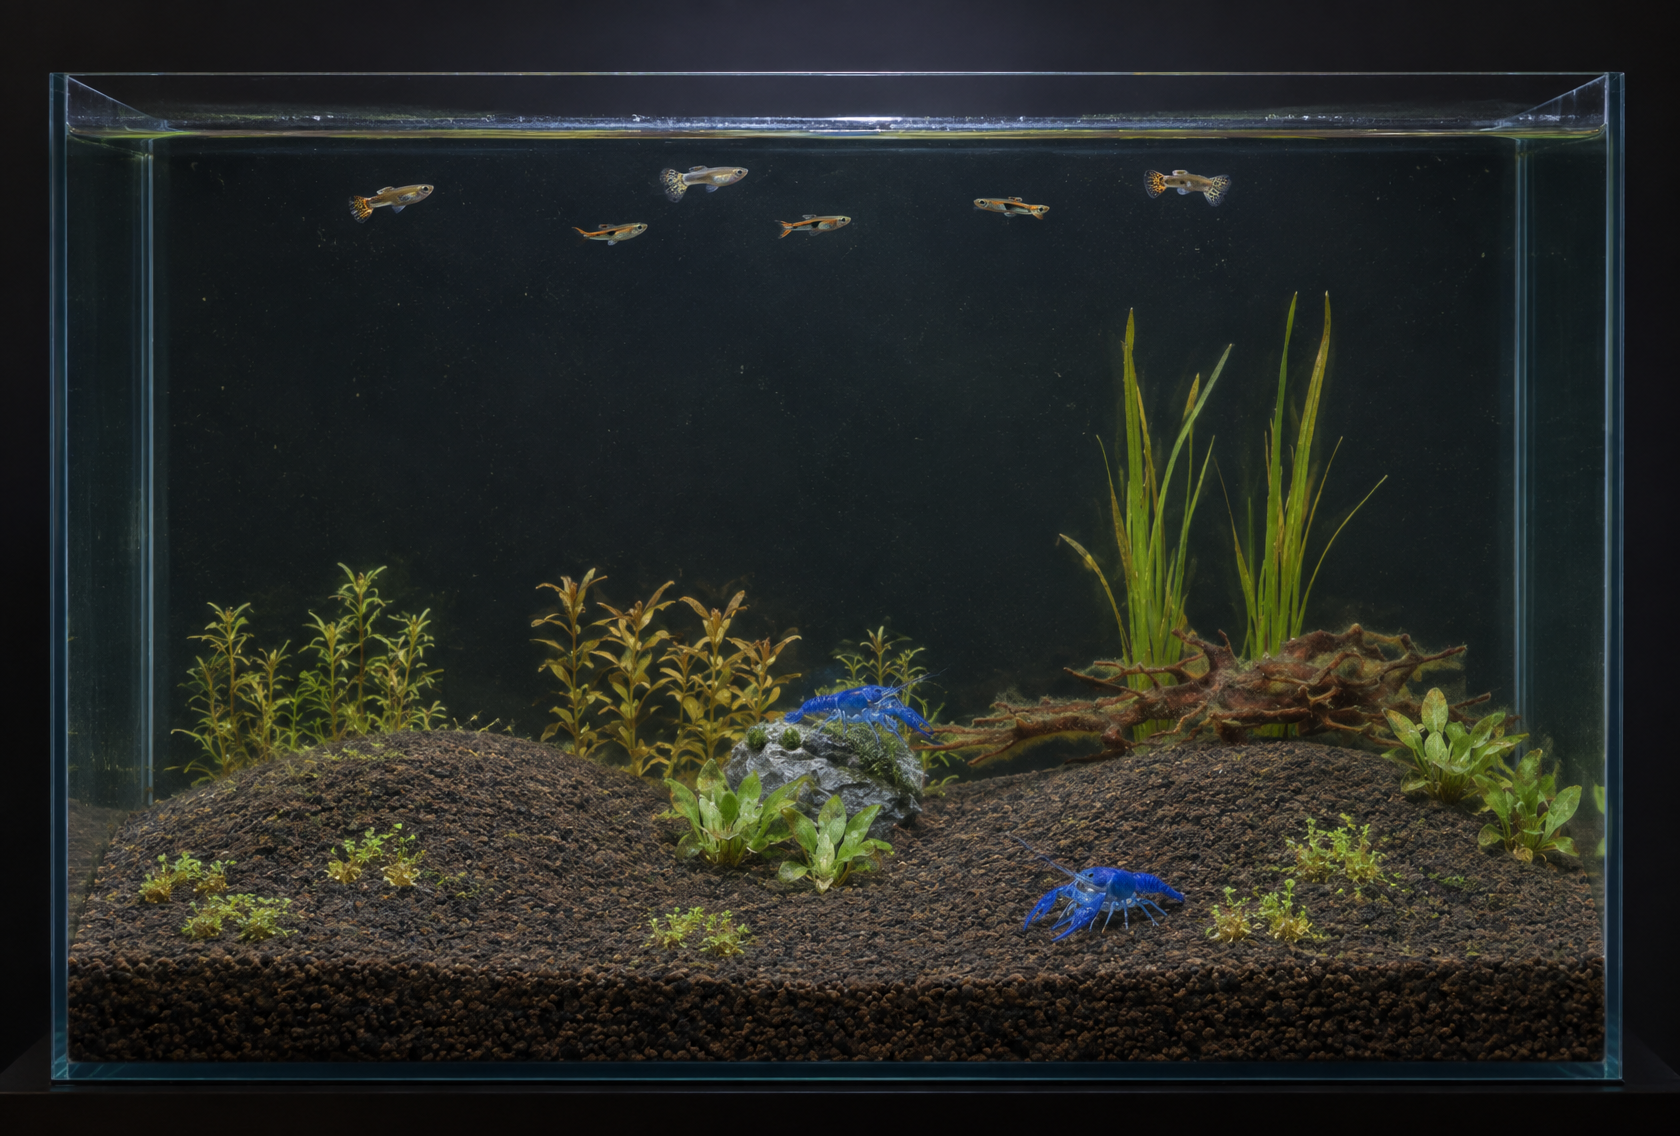
The two home-page images above compare a 3D representation and an image preview of the same aquarium layout at month 3. To explore another time in your own tank, select it in See it real before creating an image. For everyday placement, close See it real to return control to the canvas buttons Front, Angle and Top.
The image appears in the right-hand conversation, and Gallery gives you access to created images. Use the preview to inspect plant coverage and how clearly the hardscape reads. Actual growth also depends on light, carbon supply, fertilizer and care, so review the requirements of your selected plants when assessing the aquarium layout.
Check volume and stocking before you build
Once the arrangement is clear, use the aquarium volume calculator to estimate water volume and substrate needs from your dimensions. Substrate and hardscape occupy space, so a tank's nominal capacity is not the same as its usable water volume.
Use the aquarium stocking calculator to review fish, shrimp and snail counts against the setup you intend to use. The animals shown in an example image are not a substitute for checking your own selection. Consider swimming space, group needs and the available compatibility information alongside the composition.
Try your aquarium layout in the planner
Open Scapesome's aquarium planner and click Start planning. On Your tanks, open an existing tank or choose New tank, then work in Plan. Use this sequence to try your aquarium layout with the controls shown in the product:
Tank: choose Size, Light, CO₂ and Substrate. Open Depth to set the profile and its heights.
Hardscape: open a card, select a shape and quantity, then click Add. Select an object in the tank and drag it to reposition it.
Plants: open a card, choose the quantity and click Add. Arrange the plant groups around the hardscape.
Inspect the result with Front, Angle and Top. Use See it real on the right to choose a time and image angle, then Create image.
Sign in and use Versions > Save new version when you want to keep an arrangement before making a major change.
Work through the main decisions before refining the small ones. If the aquarium layout does not feel balanced, try moving the main group, changing the direction of the wood or reopening a gap. The aim is a plan you understand and can adjust before it becomes a real tank.
Aquarium layout questions
Do I need an aquarium layout drawing before I start?
A simple drawing can help you mark the main groups and open areas. A 3D view adds the tank's depth and lets you compare different angles. Use whichever makes the next decision clearer; you do not need a finished illustration before trying the first arrangement.
Can I change the layout after adding plants?
In Plan you can select and move objects again. Before a major change, sign in, open Versions in the top bar and choose Save new version to keep an arrangement you may want to return to. Changes to the current tank save automatically; saved versions are the layouts you choose to keep, within your plan's limits. Moving established plants or hardscape in a real tank can disturb roots and substrate, so try alternatives while the aquarium layout is still a plan.
Further reading
For material and substrate planning, see Tropica's hardscape and substrate guide. For a practical explanation of the triangular composition, see Gensou's triangle layout guide. The control screenshots in this article were captured from Scapesome; the two month-3 example images are the existing pair used on its home page.