How to check aquarium hardscape before you glue it
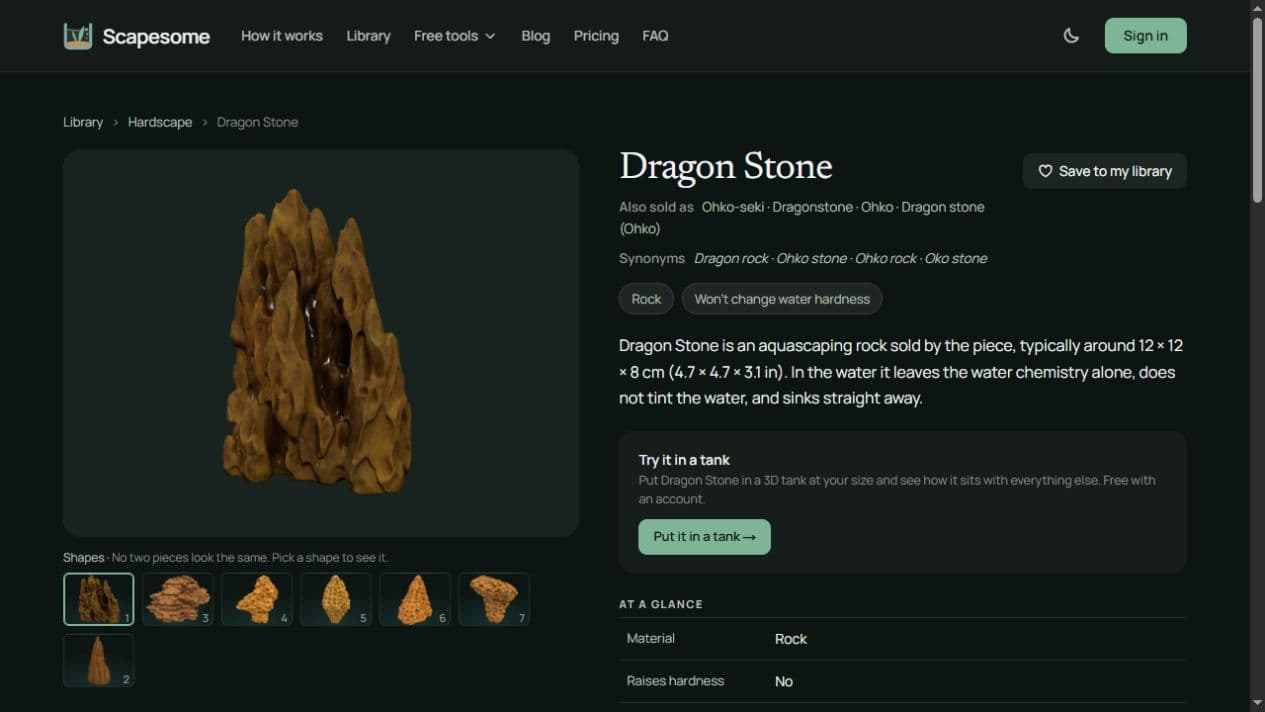
Dragon Stone and its shape options in Scapesome’s existing hardscape library. A catalog shape helps you consider proportions; it does not identify the dimensions, contact points or strength of your own piece.
Before committing an aquarium hardscape to glue, check whether you can still plant it, clean around it and remove the equipment behind it. An arrangement can look finished from the front while failing all three tests.
Do the checks with the pieces you will actually use. A useful preview can expose a proportion problem, but the final fit depends on the real rocks, branches, tools and tank.
Measure the awkward part of each piece
Record the full length, height and front-to-back reach in the orientation you intend to use. Include the projecting branch, the foot at the back of a stone and the part you expect to bury. The most visually prominent face may not be the widest part.
Keep a photograph of the chosen orientation beside those measurements. Turning a piece can change both the footprint and the locations where it touches its neighbors. A weight in kilograms cannot tell you whether that shape fits behind another rock.
The hardscape library provides forms to explore, including several shapes for some materials. Use those as planning references. A material name or a model’s default size does not mean the piece delivered to your door will have that outline.
Test the glass-cleaning route with your own tool
There is no useful universal clearance if the cleaner you own cannot pass through it. Check the head of the tool, the handle angle and the route it must take beside the whole arrangement—not just the gap at the front corner.
For a simple drawing example, a 22 cm-deep group in a 30 cm internal width leaves 8 cm in total. That does not guarantee an 8 cm cleaning corridor. Some of the gap may be in front, some behind, and a projecting foot can interrupt it halfway along.
Check the narrowest part with the actual tool while the arrangement is accessible. Keep hard grains away from the contact surface when cleaning glass; a trapped particle can scratch it. A tight gap that requires dismantling the main group for routine access is a layout decision worth changing now.
Try planting before the pockets disappear
Point your tweezers into the spaces reserved for rooted plants. Can they reach the bed at a workable angle? Can you release the plant without knocking into the adjacent rock? Will there be enough substrate at that particular position?
For plants attached to wood or rock, check the future leaves as well as the attachment point. A leaf group added to a narrow branch can cover the gap above it. Keep rhizomes exposed where the plant requires it, and leave access for later trimming or removal.
Do not treat every crevice as a compulsory planting pocket. Leaving some material visible can preserve the shape you chose it for and keep the arrangement easier to maintain. The layout guide can help decide which outline should remain the focal point.
Rehearse equipment removal
Put the intended intake, outlet, heater and other relevant equipment into the plan. Then check the removal path, not just the installed position. A unit that fits behind a stone may need vertical clearance, an angled movement or room for a hand when it is cleaned.
Make sure the planned hardscape does not obstruct an intake, return or overflow. Consider hose routes and where you will lift out trimmings. Concealing equipment is useful only if it remains functional and accessible.
Also leave the space required by the livestock you intend to keep. A slot that looks attractive in a photograph is not automatically a usable swimming route or an appropriate refuge. Match those needs to the actual animals rather than relying on a capacity figure alone.
Check the assembly beyond the front view
Inspect from the top and sides as well as from the normal viewing position. Identify where each piece is supported and whether you are depending on a loose small stone to hold up a larger part.
This is a fit and access check, not a structural certification. A digital model cannot establish adhesive bond strength, safe loading on the tank or the stability of the physical assembly. Resolve those questions for your materials and follow the tank and adhesive manufacturers’ instructions, including preparation and curing conditions.
Before taking the arrangement apart for bonding, photograph it from more than one angle and label the mating pieces. Mark the orientation and any clearance that must be preserved. Recheck the assembly after bonding and again as substrate and plants are added; those stages can change the spaces you tested.
The aquarium hardscape is ready for the next step when its appearance, access routes and physical assembly all work together. If the only way to keep the preferred front view is to lose access behind it, move a piece while that is still an easy choice.