How far apart should you plant aquarium stems?
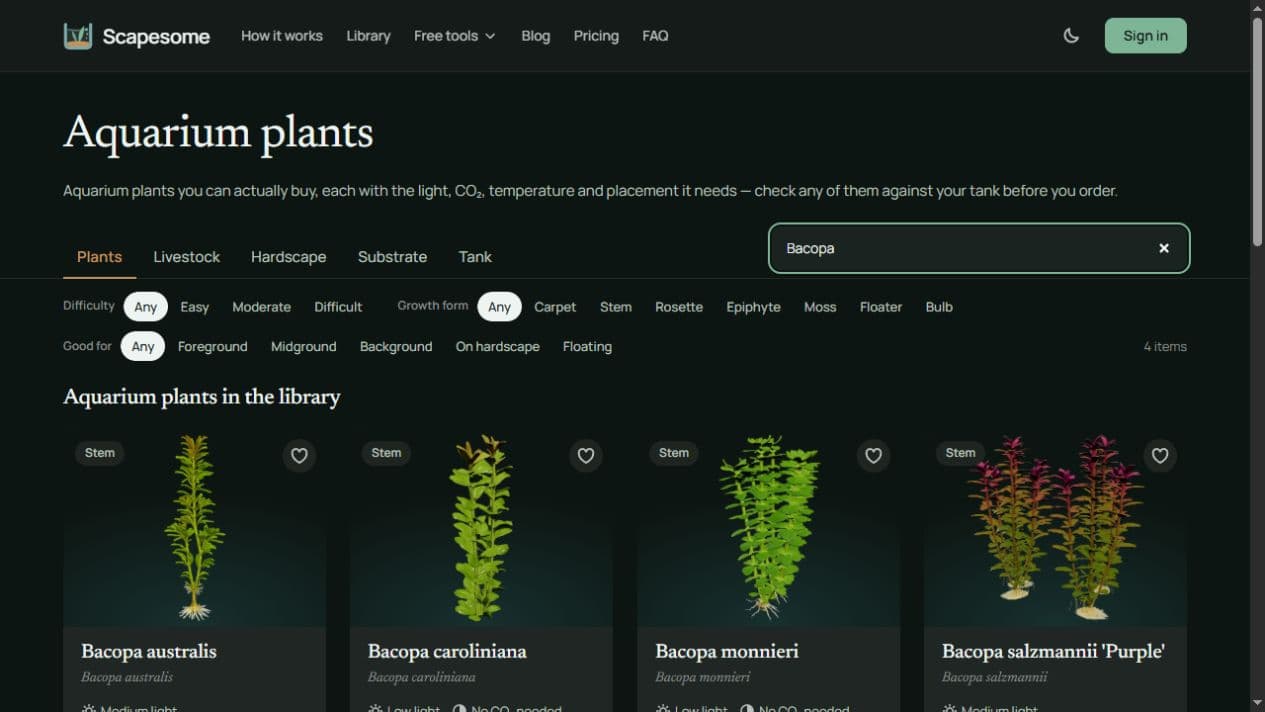
Existing Bacopa entries in Scapesome’s plant library. The catalog previews show differences in form; they are not specimens photographed at a shared scale or a planting-distance diagram.
Start by separating ordinary bundled stems and giving each one its own planting point. Leave enough space that the lower leaves are not crushed together into a tight plug. The useful distance depends on leaf width, branching and the light reaching that part of the tank—not just how many stems came in the bunch.
That may leave the group looking thin on planting day. A convincing filled-in group and a tightly packed bundle are different things.
Decide what you are spacing
Aquarium plant spacing can mean stem to stem, clump to clump, or the gap between whole planted groups. These measurements are not interchangeable.
Here the task is individual upright stems such as Bacopa, rather than a carpet portion, a Cryptocoryne rosette or a rhizome attached to wood. Follow the preparation instructions for the actual plant and packaging. Some products are supplied on a support intended to remain in place; an ordinary bunch held with a shipping ring is a different case.
For a conventional bundled stem plant, remove the shipping ring or band and separate the stems without tearing them. Remove damaged material and prepare the lower section as the supplier directs. Plant one stem at a time rather than pushing the entire compressed bunch into one hole.
Use the leaves as your first spacing check
Look at a stem from above. How far do its leaves reach sideways? Now place the next stem far enough away that you can distinguish both bases and the lower foliage is not forced into a compact knot. Check the plant’s expected width as well as the size of the shoots in the packet.
For scale, Bacopa caroliniana is described by its grower as roughly 3–4 cm wide per stem, with side branching. That describes the plant’s form; it does not establish a universal 3–4 cm planting rule. A narrow-leaved species and a broad, spreading species need different judgment even if both are sold as “stems.”
Leave more room where the group is behind a rock or beneath overhanging foliage. Crowding plants into an already shaded pocket is unlikely to produce the same result as the same spacing under unobstructed light.
You can inspect Bacopa caroliniana as one form reference, then compare the actual stock you have. Do not derive spacing from the size of a model on a screen: the preview can be zoomed or framed differently.
Turn an area into a count—with the assumption visible
Suppose you have reserved a 24 × 12 cm rectangle and want to compare two possible starting patterns. Put planting points at the centers of imaginary square cells, so the outer plants keep half a cell between their centers and the edge.
Illustrative center-to-center spacing | Columns × rows | Starting planting points |
|---|---|---|
3 cm | 8 × 4 | 32 |
4 cm | 6 × 3 | 18 |
These are geometric examples, not recommendations that every stem plant needs one of those distances. Real rocks, irregular boundaries and maintenance gaps reduce the usable area. Side shoots change the later density. The calculation is useful because it shows how strongly your chosen spacing affects a shopping count.
It also shows why “three pots for the background” is hard to audit. A pot is a sales unit. The number and size of usable stems vary with the product and condition of the plant. Count the portions you can actually separate, or ask what the supplier’s unit contains, before translating planting points into an order.
Plant the group so you can still work on it
Mark the boundary of the group, including any strip you need beside the glass or equipment.
Start with the harder-to-reach rear positions, keeping plants damp while you work.
Insert each prepared stem into a suitable depth of substrate and release it gently. If it comes out, reassess the anchoring and substrate rather than packing several stems together to hold one another down.
Look from above before adding the next row. Check that the bases remain separate and that neighboring leaves are not being folded into the same tight bundle.
Fill or refill gently so the flow does not undo the planting. Recheck the group once the water is in place.
Use the substrate-depth guide if you have not yet allowed enough rooting space. Increasing planting density cannot make a shallow pocket behind a rock easier to anchor in.
Revisit the gap as the group grows
Aquarium plant spacing is a starting arrangement, not a promise about the mature group. Branches can fill the gaps; neighboring plants can shade them. Inspect the lower stems and the reach of the canopy as you trim.
If the group becomes too dense, selectively remove or replant stems rather than assuming every new cutting must go back into the same area. If it stays sparse, check conditions and plant health before buying enough additional stems to eliminate every visible gap.
The aim is a group that can grow into its allotted space while remaining accessible. Decide its boundary as part of the whole aquarium layout, then choose the starting pattern that suits the particular plants inside it.