Aquarium Light for Plants: Check the Fit and the Leaf Distance
If two lights fit your tank, buy the one that gives your plants usable light where they’ll grow and lets you adjust it later. Start with the mounting span and the distance from the fixture to the leaves. Gallons are useful when sizing the tank, but they leave out most of what makes a light fit.
Measure the fixture’s path to the plant
Check where the brackets actually land. A fixture advertised for a 24-inch tank may need a particular rim or an open top. Measure the usable mounting span with the hood, glass lid, filter and cables in place. Leave a way to lift the lid or move the light safely when you work on the tank. Follow the fixture’s mounting and water exposure instructions.
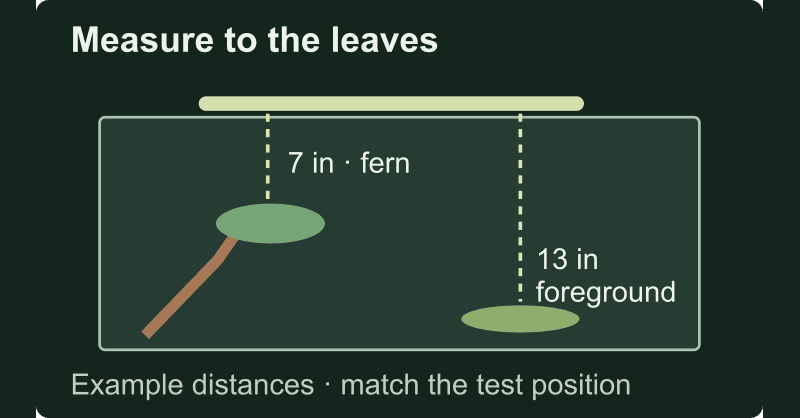
Then measure from that mounting position to the leaves you’re trying to light. A fern attached halfway up a branch and a foreground plant at the bottom sit at very different distances. The back corner may also be much darker than the center under the bar. Write down the plant placement before comparing fixtures.
Compare PAR at the same distance and position
Aquarium light charts often use PAR as shorthand for a measurement of how much light useful to photosynthesis reaches the sensor. Look for a chart that tells you the distance, position and test conditions. A measurement directly under the fixture in air is a different observation from a corner reading underwater. If both lights publish a chart, compare like with like. If a listing only gives wattage, you know the power draw, but you still don’t know what reaches the plants.
Work through a 60 cm mounting span
Suppose you have measured 60 cm between the points where the light will sit. Fluval’s Plant 3.0 specification table lists a 38–61 cm fit range for the 22 W model and 61–85 cm for the 32 W model. The first range covers the measured span. The second starts a centimeter beyond it. Check the actual mounting arrangement with the seller before ordering the larger unit.
Plant 3.0 model | Listed fit range | Listed PAR at 15 cm | Listed PAR at 30 cm |
|---|---|---|---|
22 W, item 14520 | 38–61 cm | 227 | 80 |
32 W, item 14521 | 61–85 cm | 252 | 107 |
The same table shows why distance belongs beside a PAR number. For the 22 W unit, the listed value at 30 cm is much lower than at 15 cm. Your foreground and a fern raised on wood may occupy those different distances. The table does not fully specify water or air, channel settings or the sensor’s position across the tank. Use it to form the next question about your mount and planting positions. Ask for measurements that show those conditions.
Take this short list to the retailer. You need the measured mounting span, the fixture-to-leaf distance at the foreground and at any raised plants, and the darkest edge you want planted. A central reading leaves that edge unresolved. Fluval Plant 3.0 specifications
Make the call when the seller has no chart
If you cannot find useful measurements, ask the seller about the exact fixture, mounting height and planting position you have written down. A documented aquarium with a similar mount and depth can add context if it also gives the settings and plant positions. With only watts and color temperature available, you still have an open question about the foreground. Resolve that question before paying extra for output you may not use.
Buy control you can actually use
For a first tank with a couple of easy species, look for a mount that fits, reasonably even coverage and a repeatable daily schedule. A dimmer gives you room to make a small change once the tank is planted. Check whether an external timer is compatible, particularly if the light uses a touch switch that may stay off when power returns.
If the entire reason you’re upgrading is one plant, check the plant library for its growing conditions first. Light is only part of the decision. Extra output won’t supply carbon or nutrients, and you may decide that a different foreground is easier to live with.
You can place the foreground and raised plants in the 3D aquarium planner to keep track of those positions while choosing a fixture. Measure the real fixture-to-leaf path against the plan. The planner helps you organize the planting arrangement. Its picture supplies no PAR reading for your light.
Write down the settings before changing them
Once the light is mounted, note the height, dimmer setting, hours and plant positions. Start with a repeatable schedule and watch new growth. If you change brightness, leave the timer and planting position alone long enough to see what changed. This keeps you from troubleshooting several changes at once. The aquarium light schedule guide covers the next decision, how long to run the fixture you chose.
Related reading
Aquascaping Tools: Check the Reach Before Buying a Kit
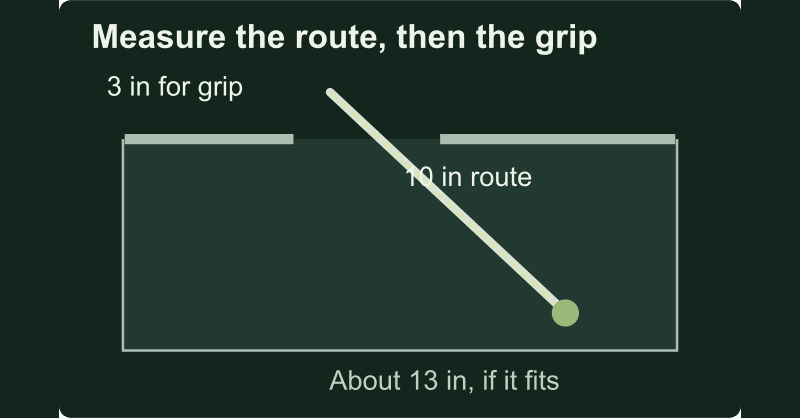
Choose tweezers, scissors and a spatula around the jobs in your tank. Compare real tool lengths with your planting route before buying a kit.
Aquarium Plant Fertilizer: Choose the Formula, Then Scale the Dose
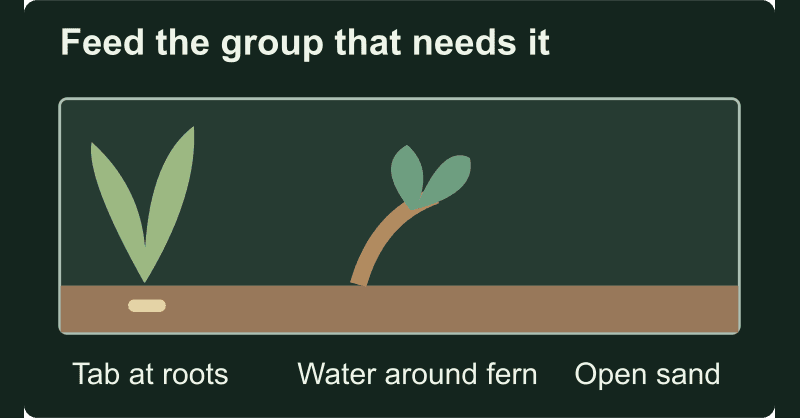
Compare root capsules and two liquid formulas, then scale a stated label dose to a 51.3 L water estimate for a mixed planted aquarium.
Dutch Aquascaping: How to Keep the Middle Group Visible
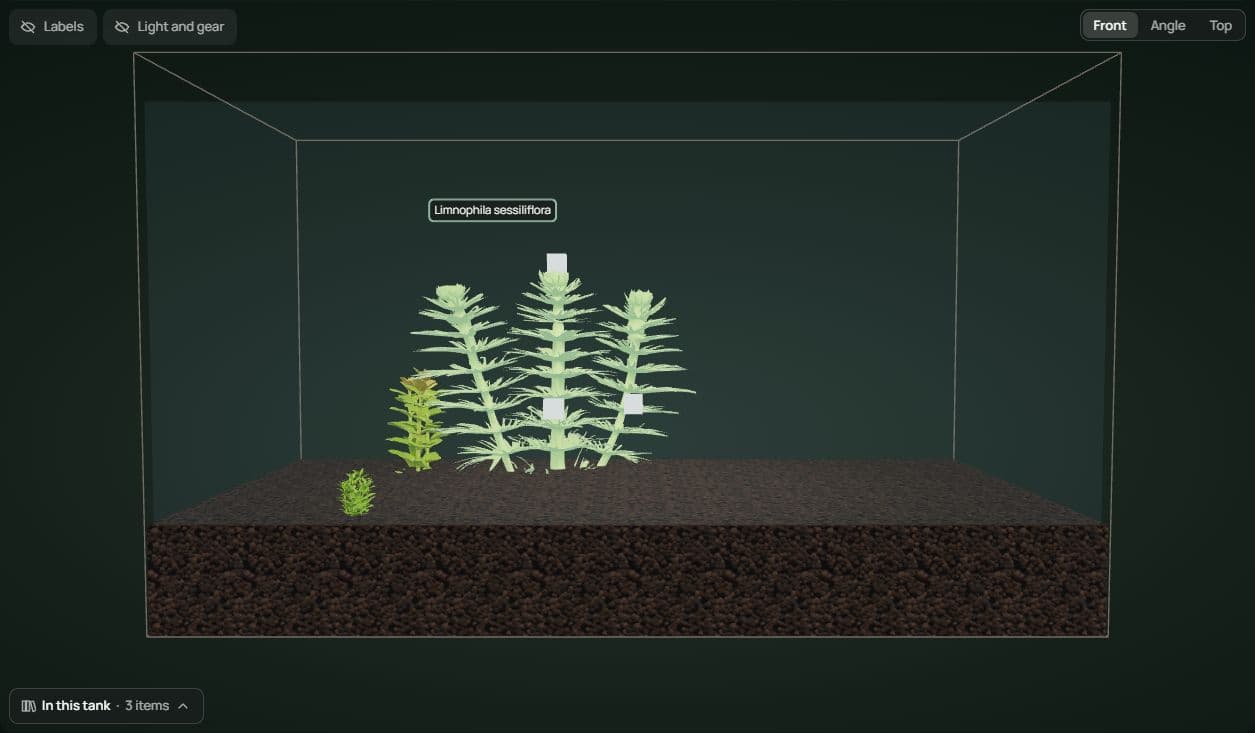
Compare the same three plant groups with the tall stems in two positions. Keep the middle group readable and leave room for the next trim.